Registration Guide
Register your massage clinic, hair salon, barber shop, beauty salon or spa on Booking-Confirmed. Follow this guide to activate your platform subscription and connect Stripe so customers can book appointments and pay online.

Before you start: prepare Stripe
You need a live Stripe account with payments enabled to accept real customer payments. Have your business, identity, and bank details ready for Stripe verification.
If you already have a live Stripe account, skip creating another one. You can also register your business first and finish Stripe setup later, before accepting online payments.
Appointment booking for massage, salons, barbers and wellness businesses
Whether you offer massage treatments, haircuts, barber services, beauty treatments, nail appointments or spa sessions, the registration steps below are the same. Once setup is complete, add your services, prices, staff and availability so customers can choose a treatment or appointment time on your business booking page.
1. Register your business
Open the registration form. Enter your business name, choose a category, and choose an available URL slug for your business page. Add your email address and a password of at least eight characters, confirm the password, complete the verification, and select Create Business.
2. Confirm your email and sign in
Look for an email titled Confirm Your Signup from Booking Confirmed and select Confirm my email. Check your spam or junk folder if it has not arrived. Once your email is confirmed, sign in with the email and password you used to register.
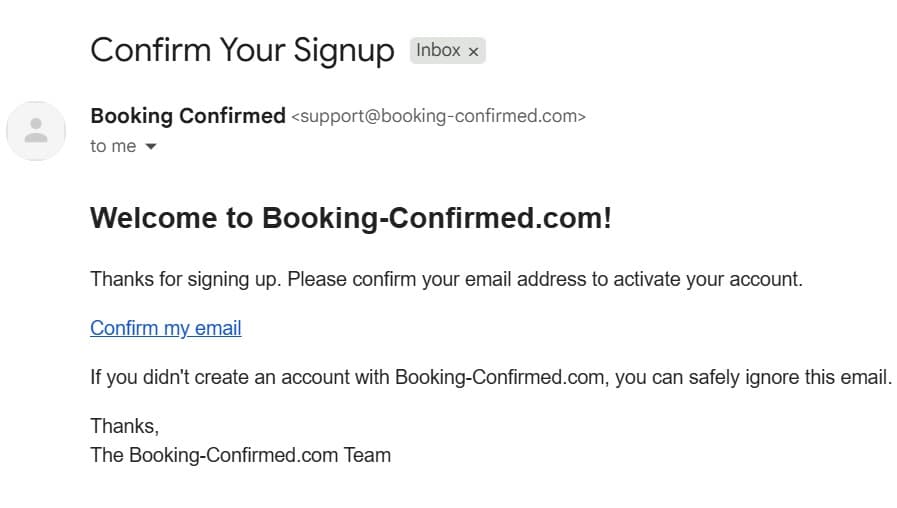
Example confirmation email. Select Confirm my email in your own inbox to activate your account. Select this image to view it at full size. 3. Choose your plan and complete Billing
Your first setup step after signing in is the Billing page. Select your plan and any optional add-ons, review the price, and select Continue to secure Checkout. Enter your payment information and complete Stripe Checkout to activate your 14-day free trial.
Return to the platform and wait for your subscription to show as active. Your recurring platform fee starts after the trial unless you cancel before it ends. This payment method pays for your platform subscription; customer payments are set up in the next step.
4. Connect Stripe for customer payments
In your business dashboard, open Settings → Payments and select Connect with Stripe. Follow Stripe's prompts to connect your business and complete any required identity, business, and bank verification.
Return to Settings and select Refresh to check the connection. If setup is incomplete, select Continue onboarding to finish. Before accepting real customer payments, check that the account shows Live mode and Stripe payments are active. Customer payments will go to your business's connected Stripe account.